Hello Beauties!
Recently the drugstores have been releasing a ton of new makeup products! This is like Christmas morning for any makeup junkie! I put these products to the test and am going to give you my honest opinions about them. I am not being sponsored by any of the companies, and all opinions are my own. Some of these products aren't new, but are the first time I've tried them, so they are new to me! :) I hope you enjoy!
L'Oreal Paris Infallible Pro-Matte 24HR Foundation:
I heard a lot of hype about this foundation being amazing, and I am happy to report that this is true! It is a pretty thick consistency, and has good coverage that is buildable without looking cakey. And the best part? This foundation stays ALL DAY and it stays MATTE! I am not exaggerating when I say that my foundation looked exactly the same at the end of the day as it did in the beginning! Also, I wasn't shiny at all! I love this foundation, it has quickly become a favorite of mine.
I have it in the color 104 Golden Beige. It comes in 8 shades.
Maybelline Master Conceal Camouflaging Concealer:
This is a good concealer and I am impressed with it. It reminds me a lot of the L'Oreal visible blur concealer. It is not the best concealer in the world, but for the price of it, I think it is definitely worth the money. I used it both for concealing under eye circles, and spot concealing.
I originally got this in the color light/medium thinking it would match my skin relatively well, but it was way too light to spot conceal. I got the shade medium next and that was a perfect match for my skin tone. I kept the light/medium to highlight under my eyes and on my cheekbones. This comes in 5 different shades.
Physicians Formula Aryan Wear Aryan Oil:
Physicians Formula has marketed this as the multitasking miracle. I like this argan oil, it is lightweight and doesn't break me out. My only problem with it is that the stopper around the lid always comes off and gets stuck in the lid which makes it difficult to close. This is basically a standard argan oil, if you have some from a different brand, you probably don't need this then. They also have this same oil in a shimmery version that could be pretty for a body oil in the summer.
Milani Baked Bronzer:
This is a very nice Bronzer to help give yourself an overall golden bronze glow. I do not recommend this for contouring because of the warm and glittery color of it. I have it in the color 05 Soleil, which is the medium color of the three shades it comes in. It blends well and doesn't come off as orangey.
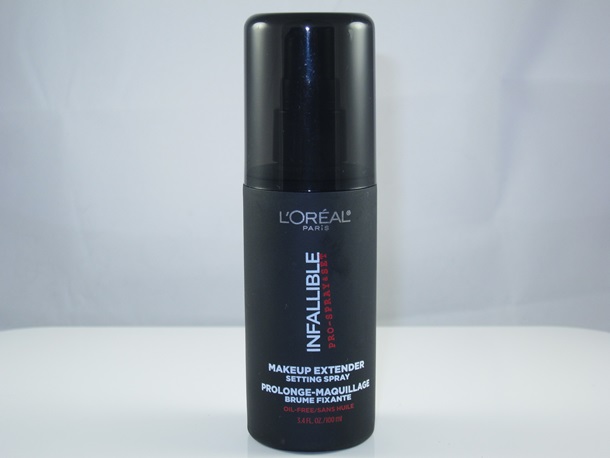
L'Oreal Infallible Pro-Spray & Set Makeup Extender:
I really love this setting spray. I feel like it does help extend the longevity of your makeup, and it also provides a dewy glow to your skin. I also found it useful in combating powdery or cakey looking makeup. It is also works as a nice makeup refresher. It sprays evenly, and isn't heavy on the skin. I have heard that it is quite compatible to high end setting sprays.
Physicians Formula Shimmer Strips Custom Eye Enhancing Gel Cream Shadow & Liner Trio:
These gel cream shadows have a very interesting texture. They are solid enough where you can press into them without leaving an intent, but they have a slick surface which give it the 'gel' feel. I have the nude trio, and all the colors are extremely sparkly. There is a light silvery Champaign color, a light golden pink, and a taupe brown. There is another trio with silver/black colors. The colors are very buildable, and you can sheer them out nicely too. I like these a lot, but be prepared to have a lot of glitter left over on your face even after you take your makeup off. Also, I love the pretty packaging on these products!
Maybelline Color Molten Eye Shadow:
I really love the Maybelline color molten eye shadow in 305 Plum fusion. It comes with a pretty grey/purple color and a deeper purple shade. These are cream shadows and are super soft. They go on very smoothly and are easy to blend with either your hands or a brush. By the end of the day though, I barely saw any remnants of the eye shadow. I recommend using an eye primer before using this product to help extend the wear of it. This comes in a variety of colors and includes both matte colors and satin finishes. I definitely want to pick up some other colors.
Revlon Luxe Crème Eye Shadow:
This is a dark green colored cream eye shadow that has a similar texture to the color molten by Maybelline. It has bright green glitter in it too which gives it a pretty sparkle that helps not make the dark green look too harsh. To my knowledge, this is the only color of this product that Revlon has made. It is the color 'Street Style.'
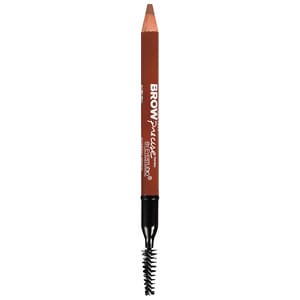
Maybelline Brow Precise Shaping Pencil:
This is my new favorite brow pencil! I got the shade auburn, and it isn't too red, but its warm enough to look natural. Also, the pencil isn't too creamy where its hard to make light hair-like strokes. It isn't too dry where you feel like your scratching the color on either. Plus as an added bonus, there is a nice little spoolie on the back to comb your brows and blend in the lines for a natural look.
L'Oreal Paris Silkissime Eyeliner:
This eyeliner is one of the smoothest I've tried. And the color is BEAUTIFUL! It's called 'Highlighter', and is a beautiful shimmering Champaign/salmon pink color. It looks incredible on the inner corner of the eyes, or on the waterline for a bright pop.
Physicians Formula Shimmer Strips Eyeliner Trio:
I bought the nude extreme shimmer eyeliner pencil trio to coincide with the gel cream shadows. It came with three colors. Champagne is a midline sparkly taupe color, and is very creamy and pretty. Pewter is a sparkly grey color with a purple reflex. And black is a sparkly black. I was extremely disappointed in the black color. I swear by Physician Formulas black eyeliner in because it lasts all day, and is very easy to apply. But this sparkly black was so dry and difficult to apply on the eyelid. I'm not sure if mine was a dud because the other two colors had a wonderful texture, but the black was so dried up that is wasn't usable.
Cover Girl Full Lash Bloom Mascara:
(Me with this mascara on)
I really love this mascara! I haven't tried too many cover girl mascaras, but this new one is wonderful. It doesn't take much work with it to get your lashes looking long, thick, and dark. My eyelashes weren't feather soft, but I did notice they weren't as hard and crunch as my usual mascaras make them. The formula is thick but wet, so it goes on smooth but has substance to cling to your lashes.
Physicians Formula Eye Booster Instant Lash Extension Kit:
(Me with this mascara on)
This is one of those lash boosting kits where you put on the mascara as a sticky base, put the fibers on the base, and then stick them down with another coat of mascara. This is always a good way to add volume to thin lashes. I was very impressed with the end result of my lashes. Usually mascaras like this give me spider lashes that are all clumpy. This mascara however did not! My lashes stayed soft and natural looking. Cotton fibers are used to adhere to the mascara, and these are small and soft enough to give a beautiful effect without looking spidery, while also being natural and non-irritating to the eyes. I was also impressed with the visible volume my lashes had, and the intense blackness of the mascara. My lashes still had a natural look though.
My only complaint with this product is the amount of fall out you get from the fibers. Not only did I have fibers all over my cheekbones, but also on my nose, and even my eyelids. This made my entire eye look appear smudgy and foggy. If you knock some fibers off, and apply them very gently and carefully, then your don't get nose or eyelid fallout, but you still get some on your cheekbones. Luckily that is easy enough to brush away with a powder brush.
Milani Lipstick:
Milani makes amazingly pigmented lipsticks that smell like jolly ranchers, and that makes them even better! I have the color 25 Naturally Chic, which is a pretty rose color with a hint of coral. The color on the bottom of the tube is a bit more toned down than the actual swatch color, but both are very pretty.
Revlon Ultra HD Lipsticks:
These lipsticks are creamy formulas, extremely pigmented, and have a pleasant berry scent. I have the colors Iris and Dahlia. Iris is a deep berry color with notes of pink. And Dahlia is a more orang red color in comparison to Iris. The formula to these lipsticks are very nice. They are moisturizing, and they still have a great color payoff.
The shape of the Ultra HD Lipsticks annoy me a bit. It is a perfect circle cut at an angle, which makes it impossible for anyone with smaller lips to get a neat clean lip line using the lipstick from the bullet. I think these lipsticks would be a lot easier to use if they were in the classic lipstick shape.
Rimmed London Provocalips 16HR Lip Color:
I can not explain how impressed I am with these lip products. The colors are beautiful, the product doesn't feel sticky when dry, and the balm on the opposite side is very moisturizing and doesn't feel watery like they tend to with products of this design. And the best part? It lasts all day! I put this on one morning before work, and after a 45 min drive to work, an 8 hour shift with talking and eating, and another 45 min drive home, it was still on! I was very pleasantly surprised that is lasted as long as it did. I definitely want to try other colors from these.
I hope that these reviews have helped, and remember that some products work for some people, while others don't. If you think a product will work for you, I encourage you to try it! Keep on the look out for my next post, and thank you for reading!
Best Wishes,
Heather


.JPG)


.JPG)
.JPG)
.JPG)
.JPG)
.JPG)
.JPG)


.JPG)

.JPG)

.JPG)
.JPG)

.JPG)


.JPG)


.JPG)


